At the vise

Fly tying techniques that hold on a fish.

Tying is thread control, not decoration. Learn a few wraps well and you can build almost any trout or saltwater pattern from the same bench.

What you actually need

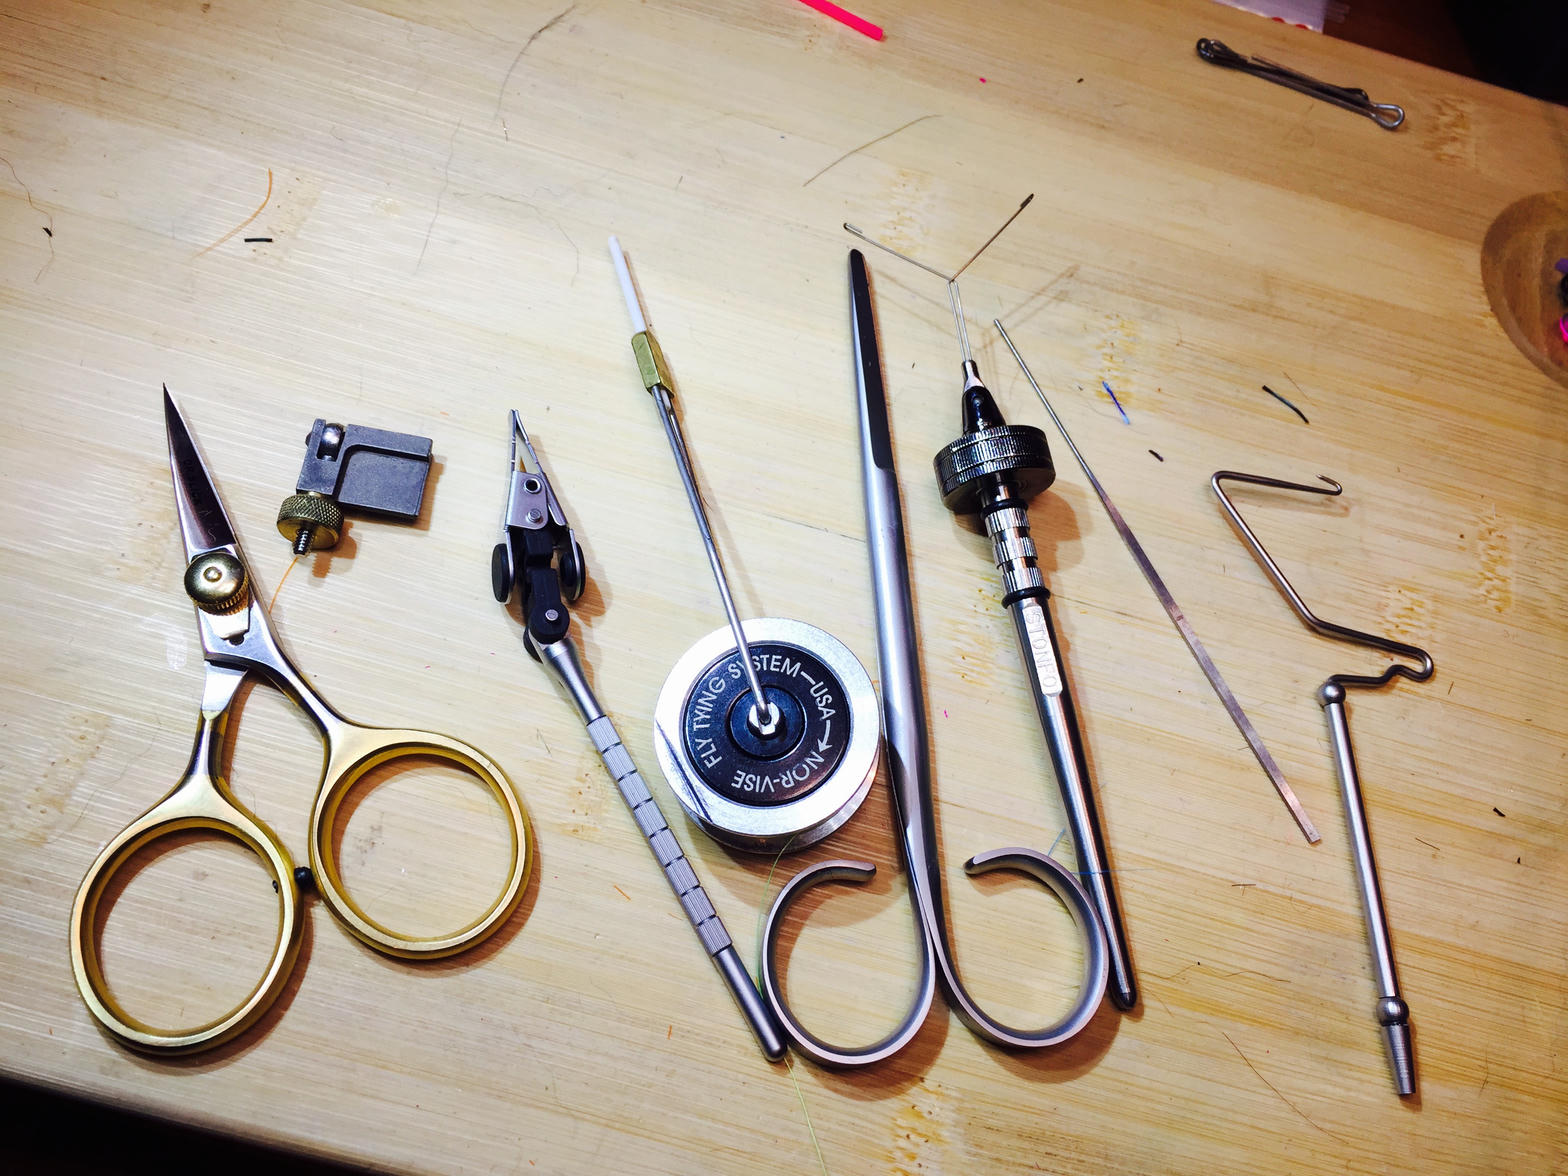
A vise that holds a hook, a bobbin, scissors, hackle pliers, and a whip-finisher. Add a bodkin and a hair stacker when you start tails and deer hair. Light from the side beats light from above. Start with 6/0 or 8/0 thread and hooks in sizes 12–16 until your hands know the scale.

Do not buy a wall of capes first. Tie one dozen Woolly Buggers, then one dozen Pheasant Tails. The second dozen will look like flies.

Fly tying tools on a bench

The wraps

Core techniques

Every pattern is a short list of these moves. Practice each one slowly. Speed comes after the thread stops breaking.

As an Amazon Associate, Fisherman's Corner earns from qualifying purchases.

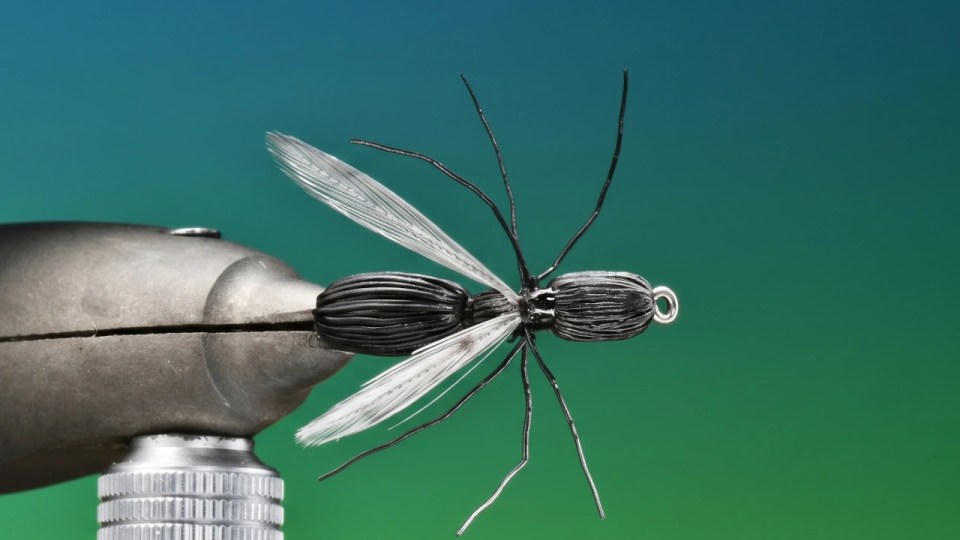
Fly held in a tying vise
Foundation

Secure the hook and lay a thread base

Clamp the hook in the vise so the shank is level and the point is clear of the jaws. Start thread behind the eye and wrap back to the bend in touching turns — no gaps, no pile. That base is what every other material bites into. If the foundation is lumpy, the fly will be lumpy.
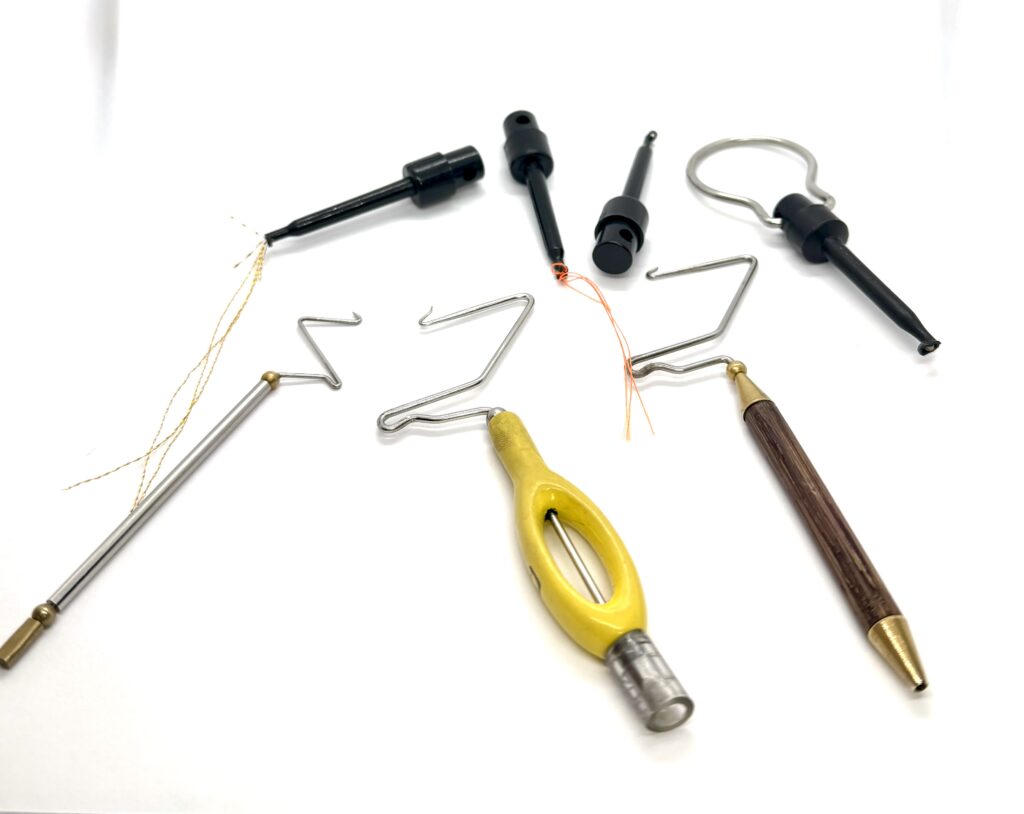
Bobbins and hackle pliers
Hands

Thread tension and the pinch wrap

Let the bobbin hang so gravity keeps tension. To tie in a tail, wing, or wire, pinch the material on top of the shank with your left hand and make two soft wraps over your fingertips, then pull straight up so the material stays on top instead of rolling under. That is the pinch wrap. Most sloppy flies are just material that spun.

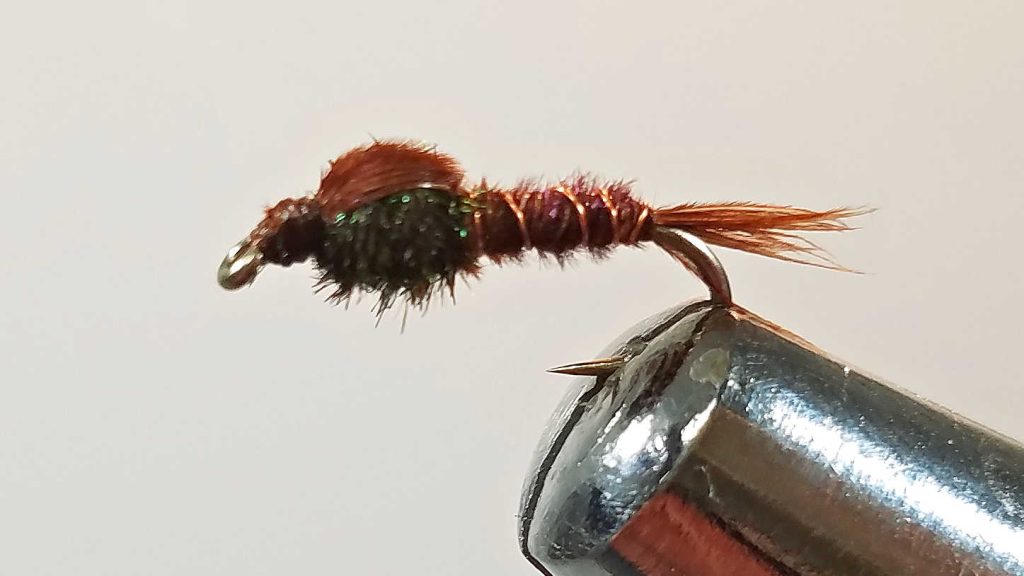
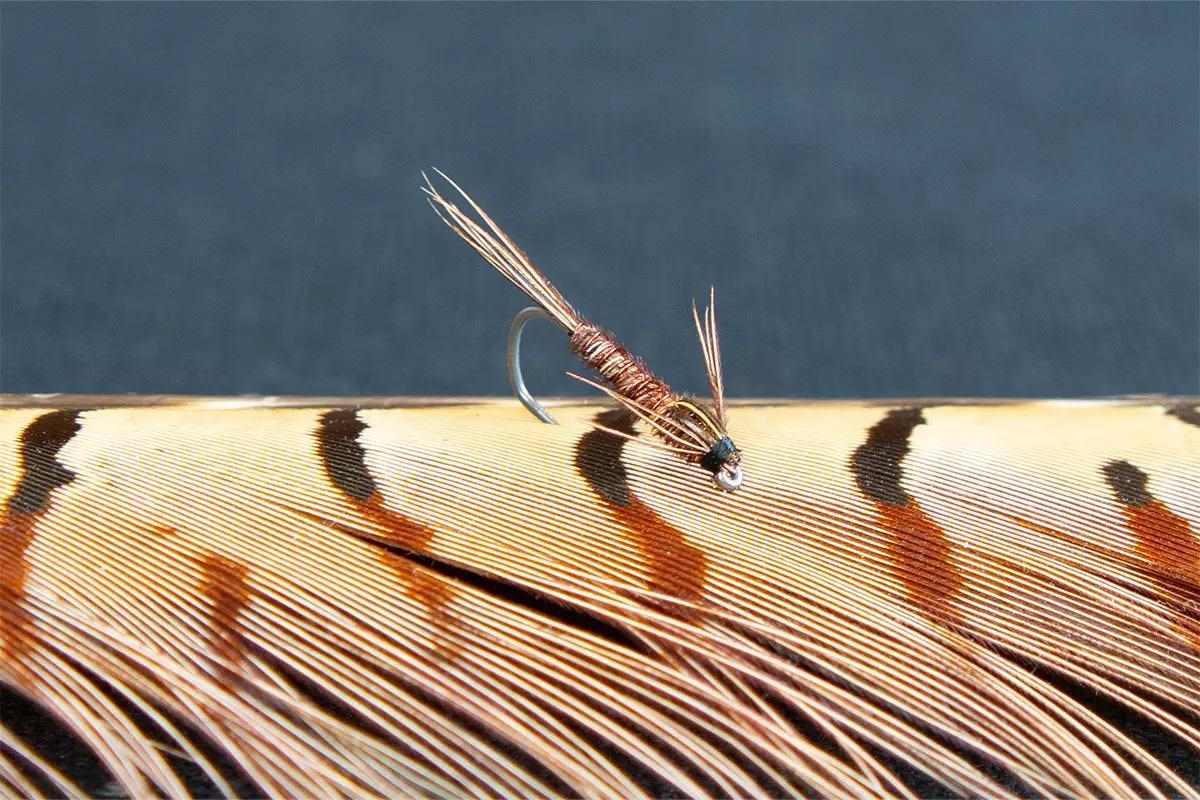
Pheasant Tail nymph showing tail and body
Shape

Tails, bodies, and ribbing

Tails should be about a hook-shank long and even. A hair stacker evens deer or elk tips. For a body, wrap thread or floss in a slight taper — thinner at the tail, a little fuller toward the thorax. Counter-wrap a fine wire rib over pheasant tail or quill so fish teeth do not unwrap the body on the first take.

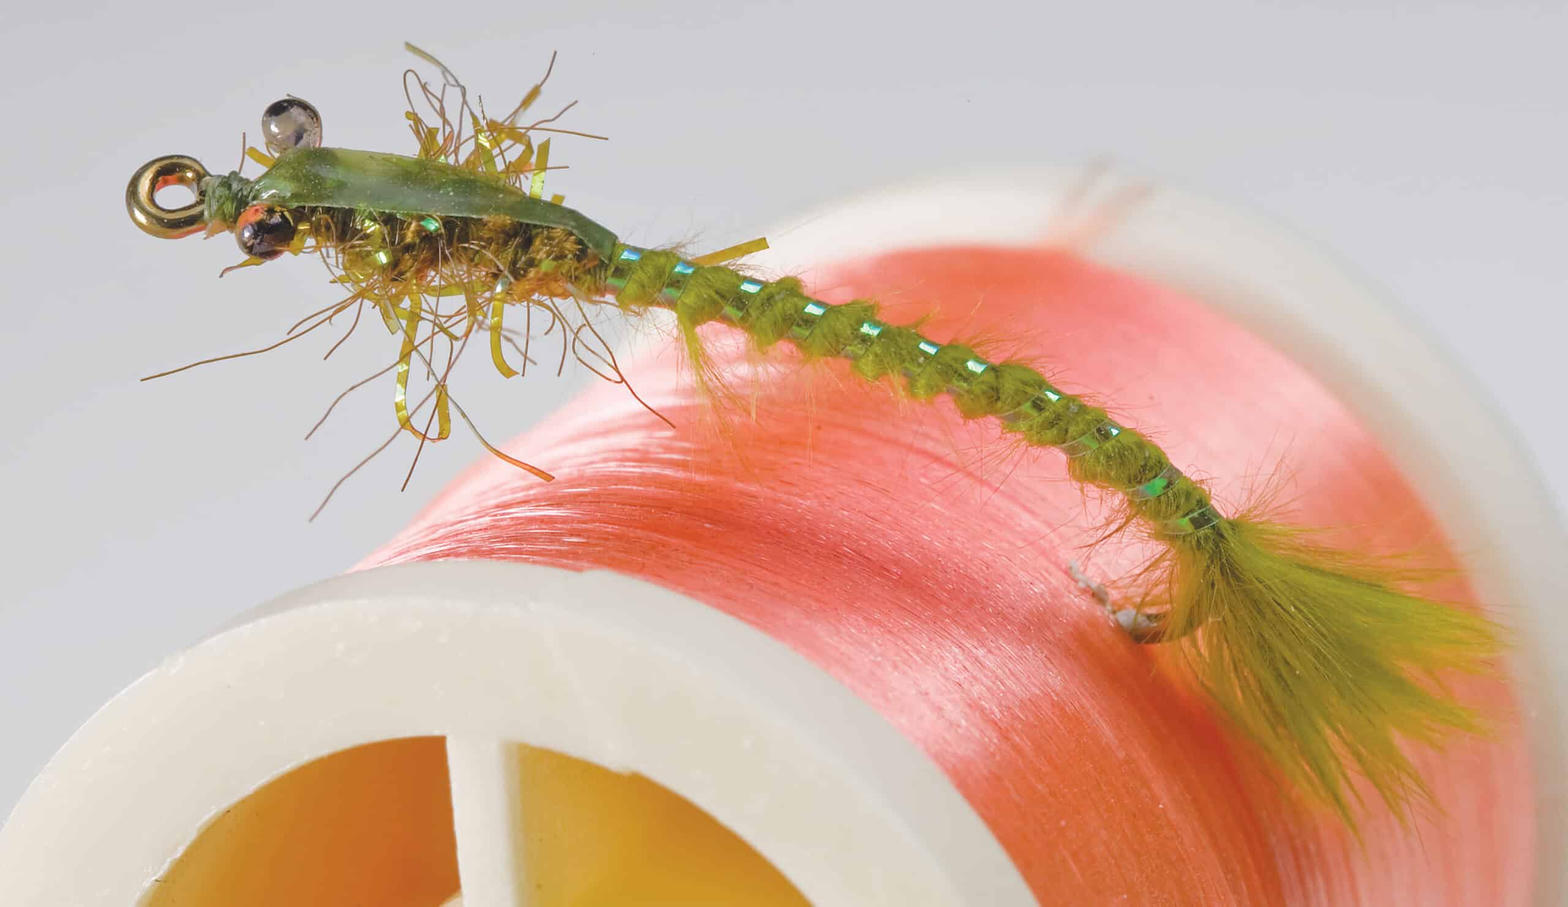
Dubbed fly next to a spool of tying thread
Fuzz

Dubbing

Dubbing is fur or synthetic twist-wrapped onto thread to make a buggy body. Use less than you think. Touch wax if the mix is slick, then spin a thin noodle onto the thread and wrap forward. If the body looks like a sweater, you used too much. A bodkin picks out a few fibers after the wrap so the fly looks alive in the water.

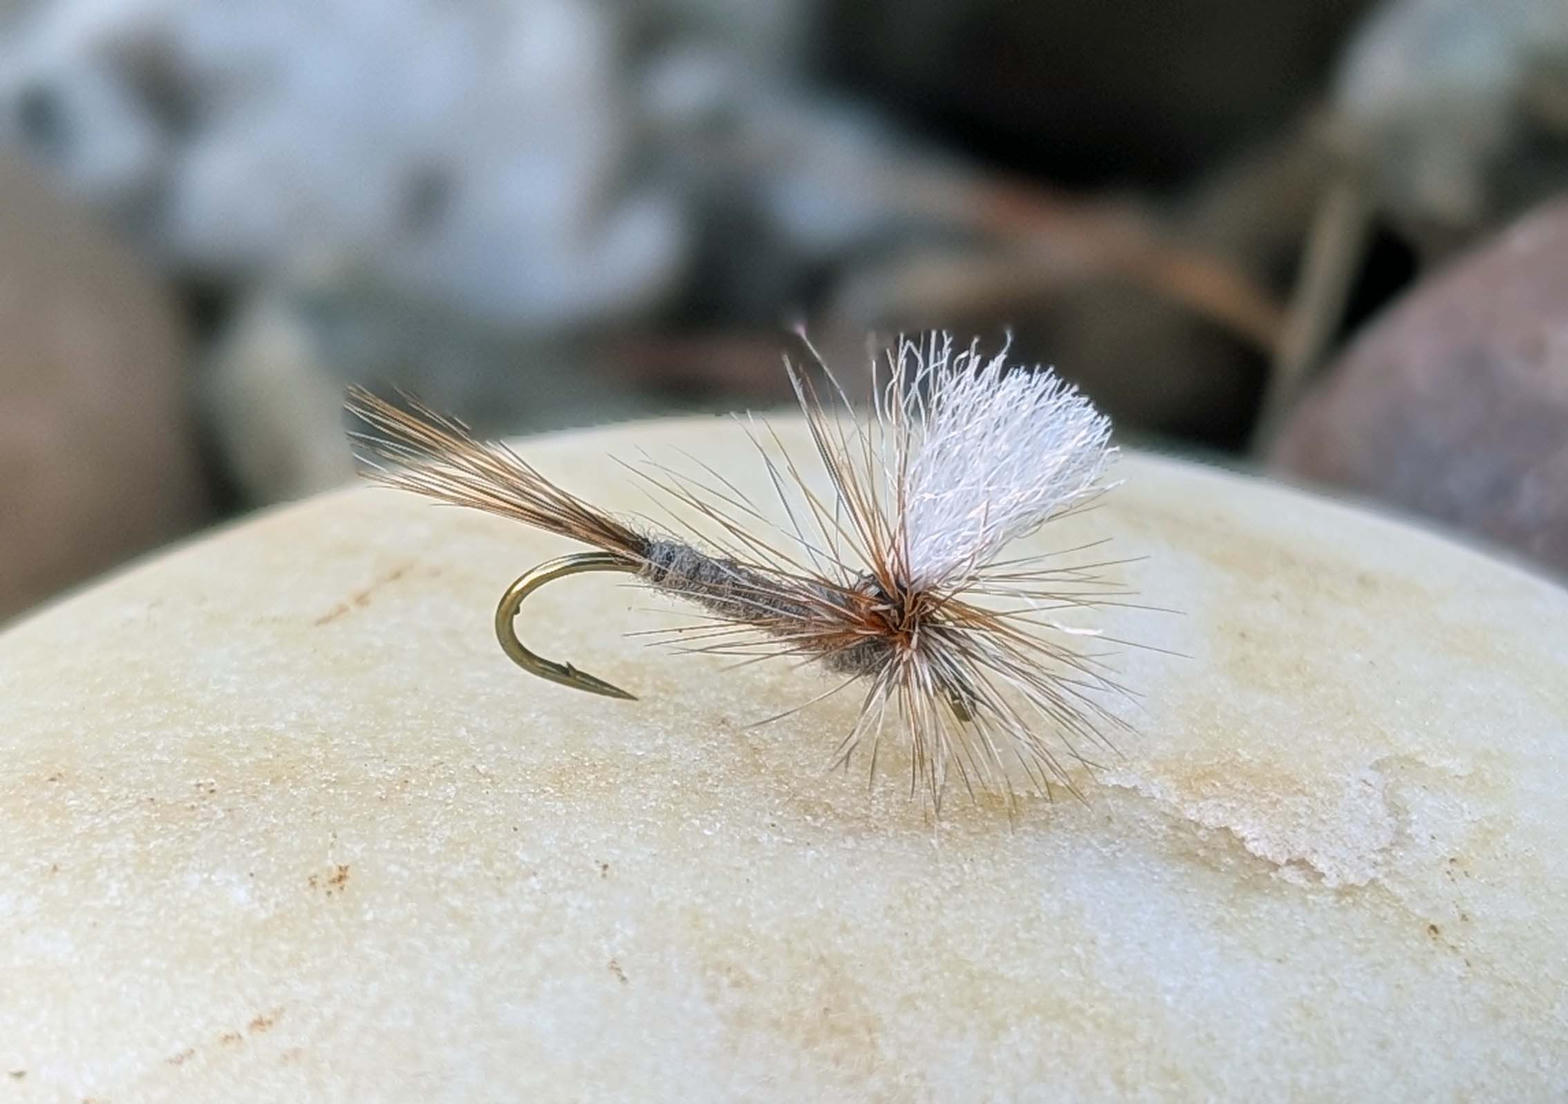
Hackle collar on a Parachute Adams
Legs in the film

Hackle

Dry-fly hackle is a feather palmered so the barbs stand out and float the fly. Size the feather so the barb length matches the hook gap. Wet flies and soft hackles use a softer partridge or hen collar that pulses on the swing. Hold the tip in hackle pliers and wrap toward the eye, then tie off with two firm wraps. Trim the leftover stem close.

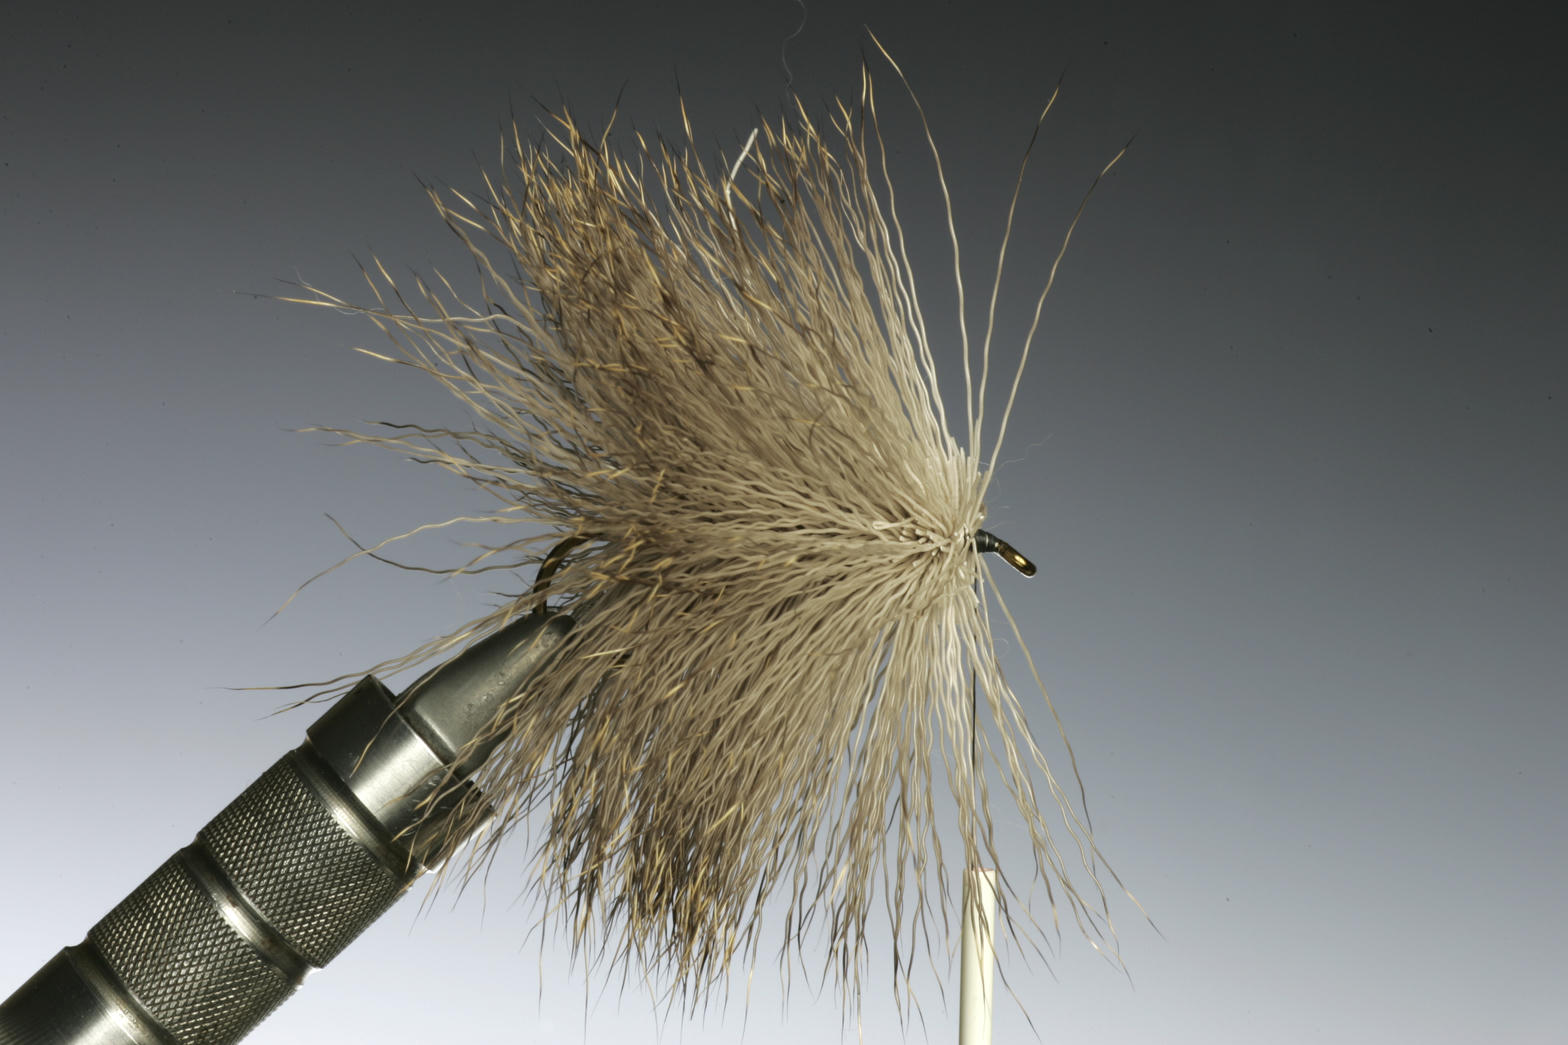
Deer hair spun on a hook in a vise
Bulk

Deer hair and stacking

Hollow deer hair flares when you tighten thread. That is how you build a hopper body or a bass bug. Clean the butts, stack the tips, set a loose wrap, then pull tight so the hair spins around the shank. Pack each bunch back with your thumbnail before the next. Clip the silhouette with serrated scissors when the hook is full.

Beadhead nymph in a vise
Weight

Beads, lead, and the whip finish

Slide a bead on before the hook goes in the vise. A small wrap of lead or substitute wire behind the bead keeps it from sliding. When the fly is done, finish with a whip-finish tool or a three-turn hand whip — thread wrapped over itself so the head cannot unwrap. A drop of head cement or UV resin locks it. Full walkthrough: master the whip finish.

Woolly Bugger streamers
First dozen

A first pattern: the Woolly Bugger

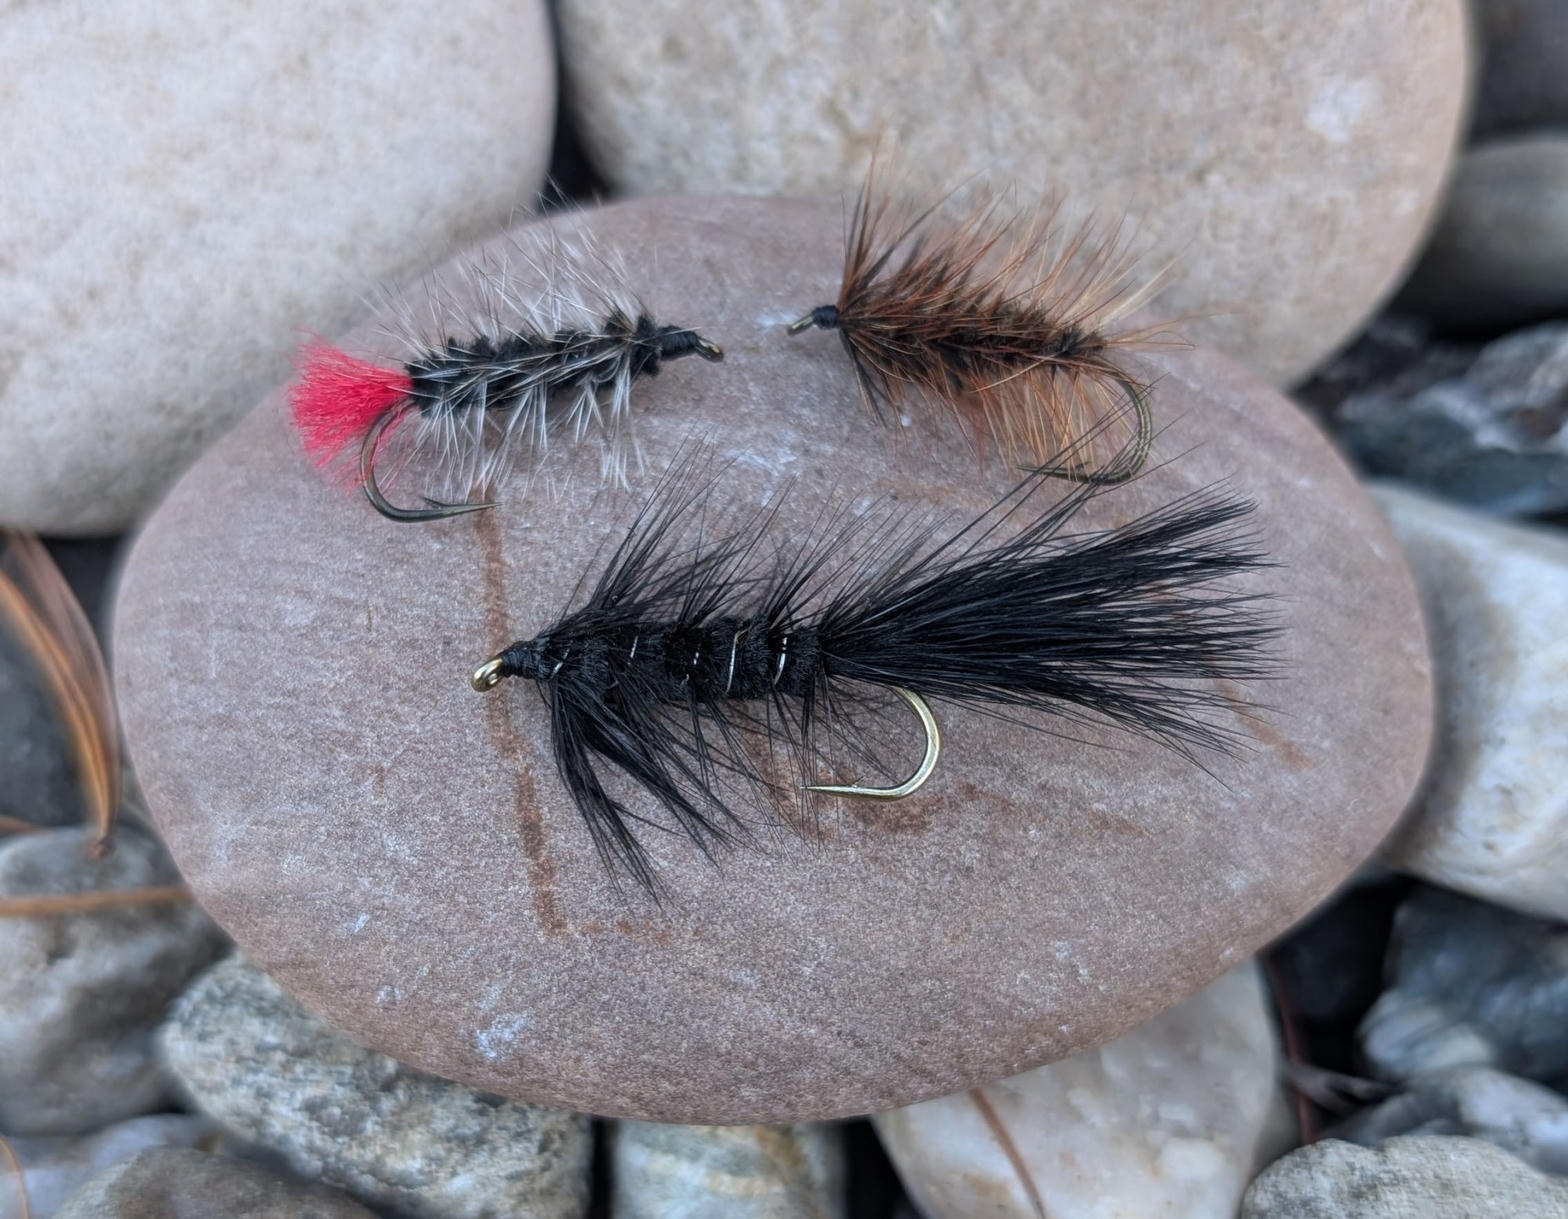
Marabou tail, chenille body, palmered hackle. It teaches tails, bodies, and hackle in one fly, and it catches fish from farm ponds to tidal creeks. Tie six in olive and six in black, sizes 6 and 8. After that, a Pheasant Tail teaches ribbing and a thinner profile.

The knot that locks the fly

Master the whip finish.

A whip finish is thread wrapped over itself so the head cannot unwind. Half hitches stack and eventually slip. A three- to five-turn whip, seated and cemented, is what keeps a Bugger together after a toothy fish.

Whip finish tool wrapping thread on a hook in the vise

What the knot is doing

You are making a small noose of thread around the hook shank, then pulling the tag end through that noose so the wraps cinch down on their own standing part. Same idea as whipping the end of a rope. Tool or fingers — the geometry is identical.

Leave a little room behind the hook eye. If you crowd the eye, the leader will not pass and you will chew the head off trying to thread it.

Matarelli-style whip finisher tool

With a whip-finish tool

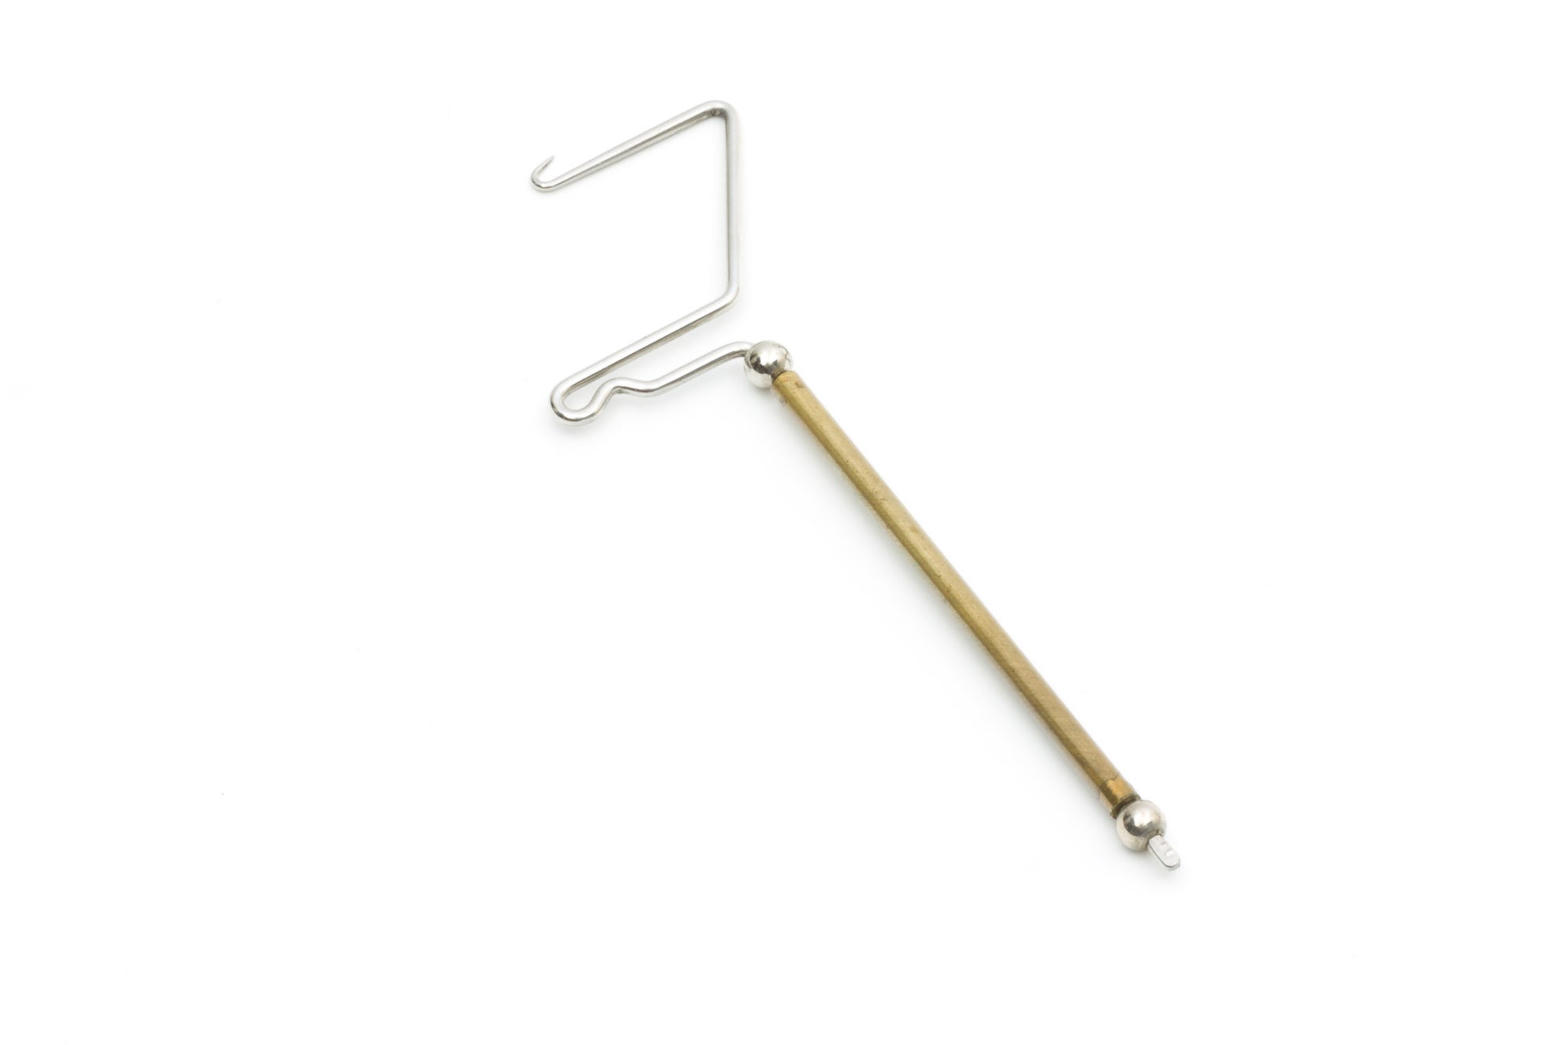
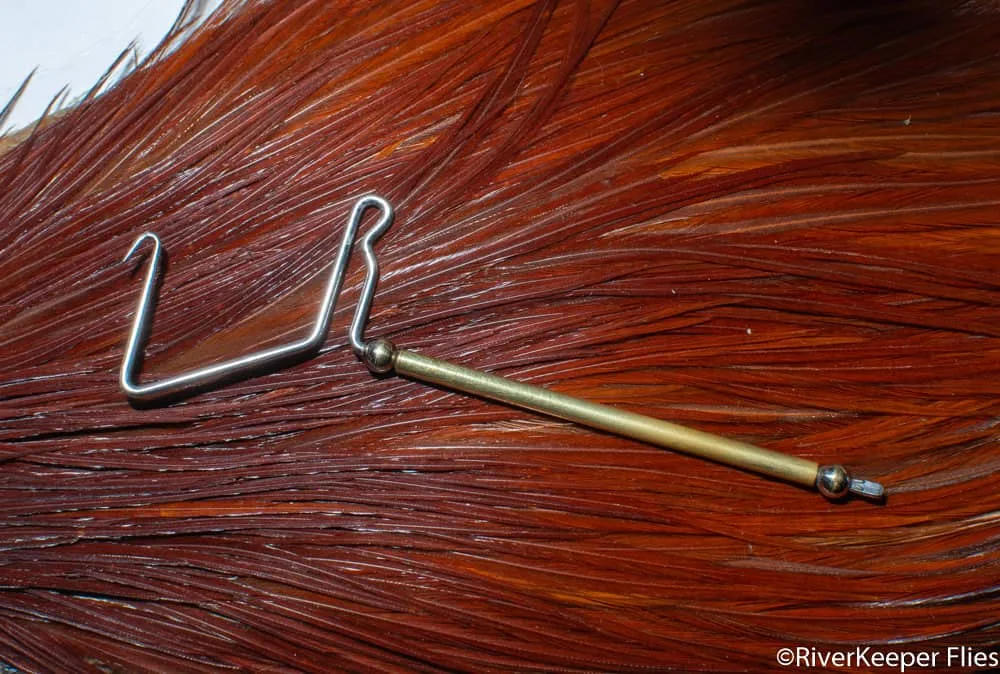
The Matarelli-style tool has a hook on one arm and a notch on the other. It holds the loop so you can watch the wraps go on.

  1. Finish the fly with thread hanging in front of the head, bobbin at rest. Leave an eye’s width of bare shank if you can.
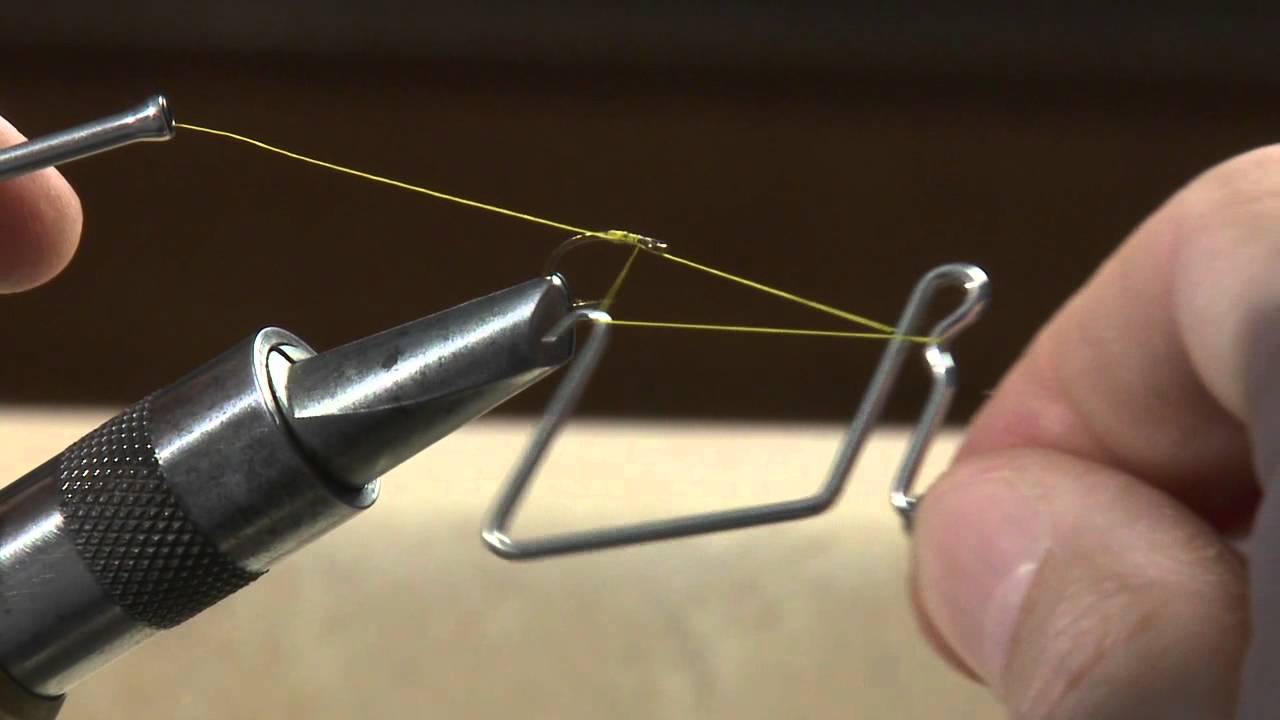
  2. Catch the thread in the tool’s hook. Catch the same strand in the rear notch so a triangle of thread sits between tool and hook shank.
  3. Bring the hooked arm to the near side of the shank, just behind the eye. The thread from the bobbin is now the standing part.
  4. Rotate the tool around the shank — not the other way around. Each orbit lays one wrap over the standing thread. Keep light tension. Three wraps for small dries, four or five for streamers and saltwater flies.
  5. Slide the hook-arm wraps forward onto the head as you turn so they sit tight against each other, not in a heap.
  6. Drop the rear notch off the thread. You should have a small loop still on the hooked arm. Pull the bobbin slowly until that loop disappears into the head.
  7. Seat the knot with a straight pull along the shank, not up. Trim the tag close. A drop of head cement or UV resin locks it.
Classic whip finisher on a tying bench

By hand (no tool)

Useful when the tool will not fit behind a tight eye, or when you want the skill in your fingers. Practice on a bare hook first.

  1. Hold the bobbin in your right hand. Extend the left thumb and forefinger like a bird’s beak above the hook eye.
  2. Take the thread around those two fingers so it crosses itself — you have made a loop, with the standing part against the shank.
  3. Use the fingers as the “tool.” Roll the loop around the shank so each turn of the loop lays a wrap over the standing thread.
  4. Three to five turns. Keep the loop large enough that it does not twist into a wind knot.
  5. Pinch the wraps with the right hand, slip your left fingers out of the loop, and pull the bobbin until the loop draws down.
  6. Seat, trim, cement. If the tag pokes out of the head, the last wrap was not over the standing part — unwrap and do it again rather than burying a bad knot in glue.

How you know it is right

  • The tag disappears into the head instead of sticking out the side.
  • You can tug the bobbin hard before you cut and the wraps do not creep.
  • The eye is still open. A finished head should look like a neat cone, not a blob over the eye.
  • On a practice hook with no materials, you can pick at the wraps with a bodkin and they stay put.

Tie twenty whip finishes on bare hooks before you put one on a fly you care about. The motion is small. Your hands need the reps more than another explanation.

Order of operations

Read more on how those flies get used on the water in Fly Fishing.

As an Amazon Associate, Fisherman's Corner earns from qualifying purchases.

Bench shop links

Fly tying vise

A rotary vise makes wrapping bodies and inspecting the far side easier.

View on Amazon

Tool kit

Bobbin, scissors, hackle pliers, whip finisher, and a bodkin in one tray.

View on Amazon

Thread & hooks

8/0 thread and a pack of 12–16 dry and nymph hooks to practice on.

View on Amazon

Head cement / UV resin

Locks the whip finish so the fly survives teeth and slime.

View on Amazon

Beginner materials kit

Enough dubbing, hackle, chenille, and marabou to fill a small box.

View on Amazon

Magnifier lamp

Side light and a little magnification save eyes on size 18 midges.

View on Amazon